Make Redmond Angry By Setting Up Windows 11 With A Local Account
hands on Redmond really – and I mean really – wants you to log into Windows 11 with a Microsoft account.
If you’re setting up your own computer, rather than using a centrally managed one, Windows 11 assumes you have and want to associate the PC with a Microsoft account during installation. That’s a problem if you place a higher premium on your privacy than the convenience of having your settings and files synchronized across multiple computers you might log into. It’s an even bigger problem if you’re setting up a PC for someone else, such as a relative, or to donate to charity. You don’t want another person having to log in as you and then getting access to your data.
A Windows local account, which is stored only on the PC itself, has several advantages. It doesn’t send your preferences into the cloud, doesn’t deploy OneDrive to gobble up your files, and doesn’t work on other computers.
By default, Microsoft tries to prevent you from setting up Windows 11 using a local account, but below I’ll show you two workarounds that allow you to do it. If you already have Windows set up with a Microsoft account, I’ll show you how to add a local account, which you can use instead.
Method 1: Entering the ms-cxh:localonly command
You’ll begin by starting the Windows 11 install process, which in most cases, involves booting off of a USB flash drive that you’ve written the installer to.
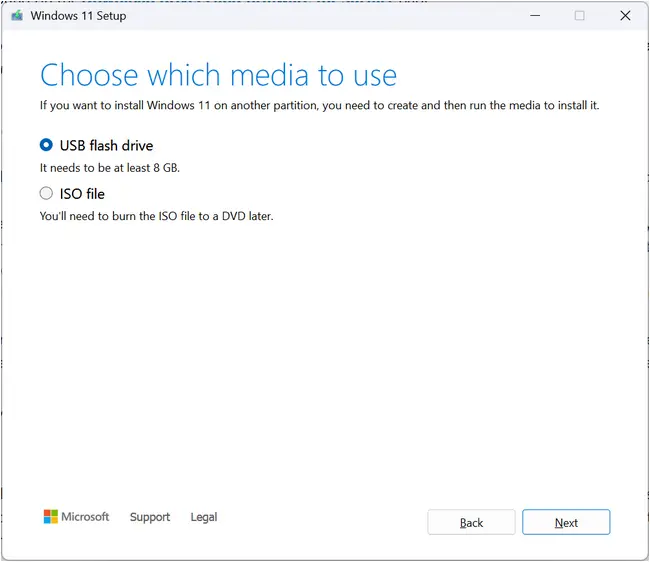
If you’re just getting started and don’t have an installation disk already, grab a USB flash drive or other external drive that has a capacity of 8GB or more. Then download the Media Creation Tool from Microsoft and use it to write the operating system installer to your drive.
After you have your installation media, boot off of it. If your PC has no OS on it, you’ll probably be prompted to boot off of the external disk. If it already has something on it, make sure you select the appropriate boot device before your C: drive starts to load. You can do this in the BIOS or by hitting a special key (F12 on some computers) as soon as the computer starts.
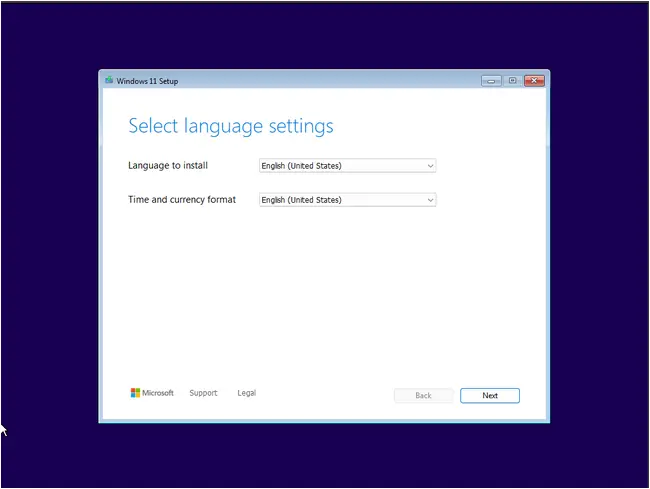
Step through the normal Windows 11 installation process, entering your language, product key, and other information that the software asks for.
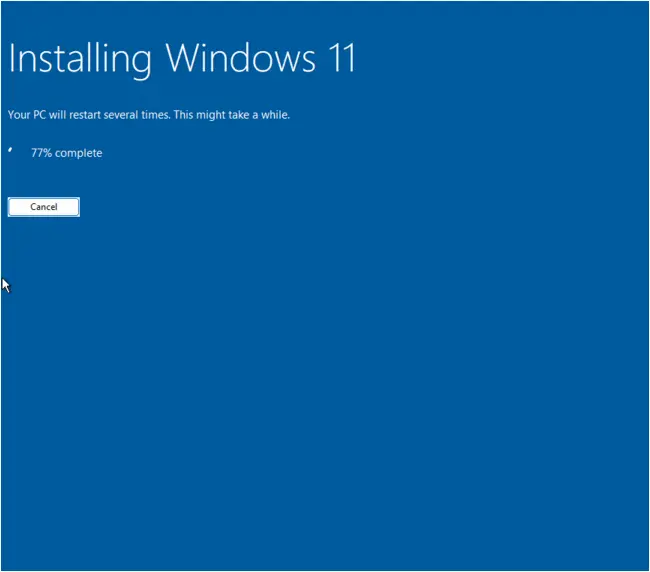
Wait patiently during the big file copy and reboot process.
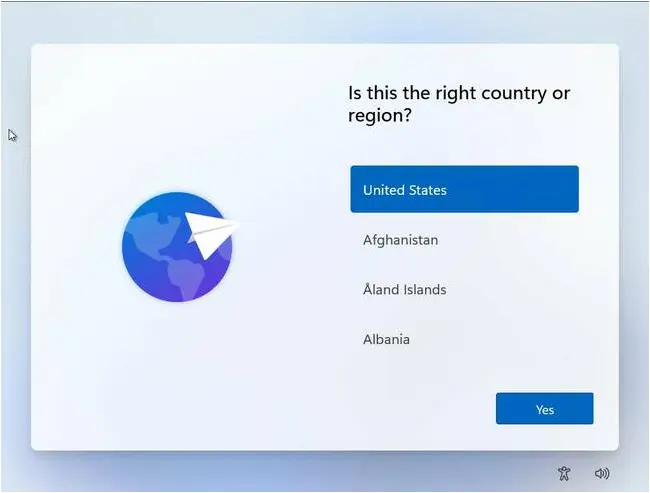
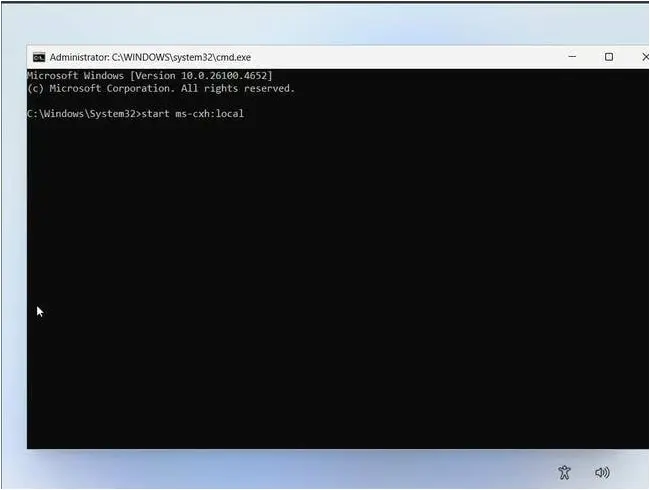
At the screen where you choose a country, hit Shift + F10 to launch a command prompt window.
In the command prompt window, type start ms-cxh:localonly and hit Enter. In the current build of Windows 11 installer that we tested, this rebooted the PC and led us back to the same screen (which is necessary). In Insider builds of Windows, however, you may get a dialog box asking for the username and password here.
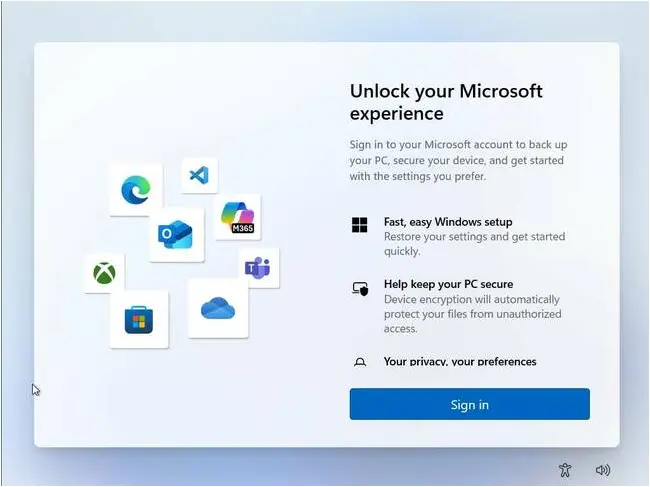
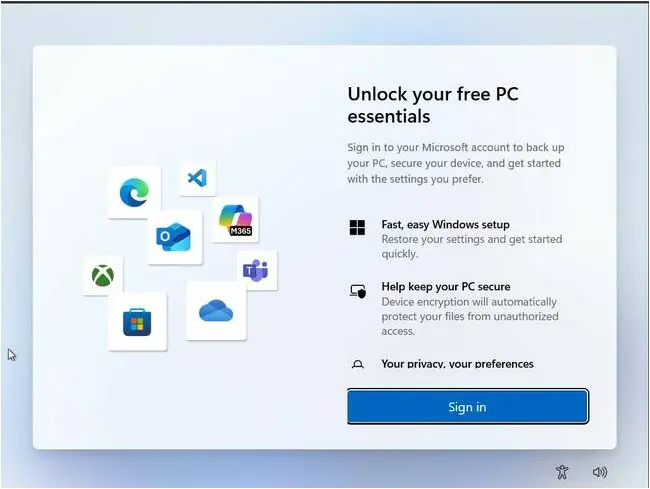
After the reboot, step through the rest of the process until you get to the Sign in screen.
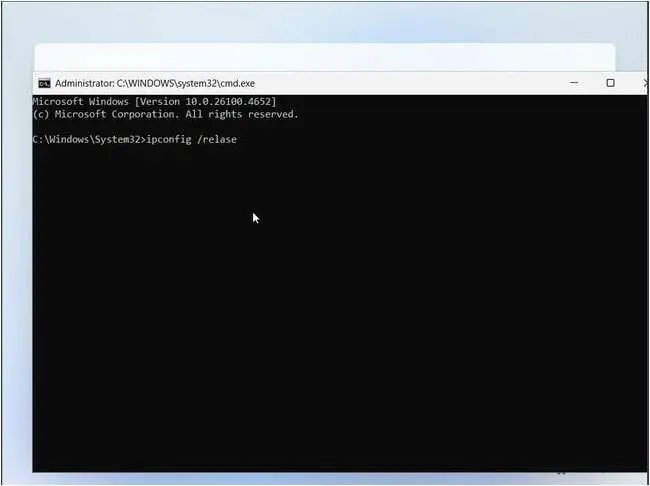
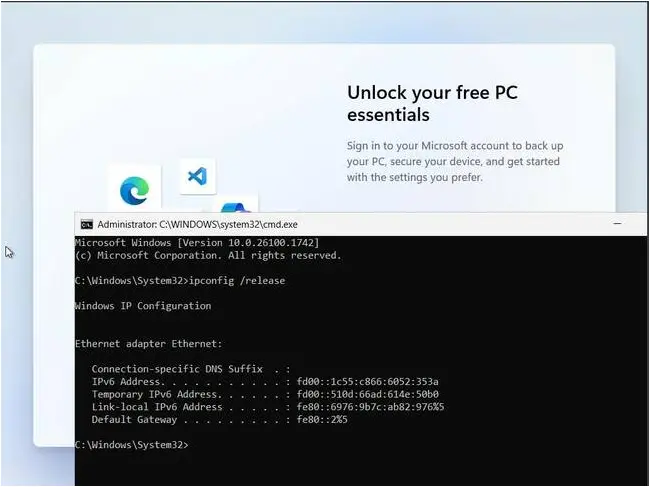
There, hit Shift + F10 again to get the command prompt. At the prompt, enter ipconfig /release, which will turn off your internet connection.
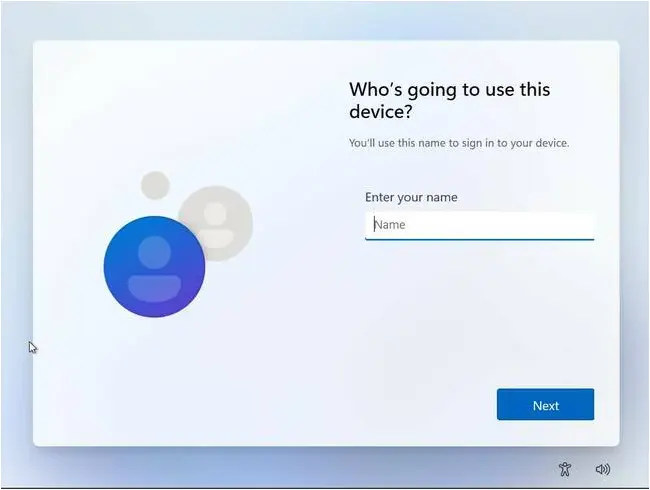
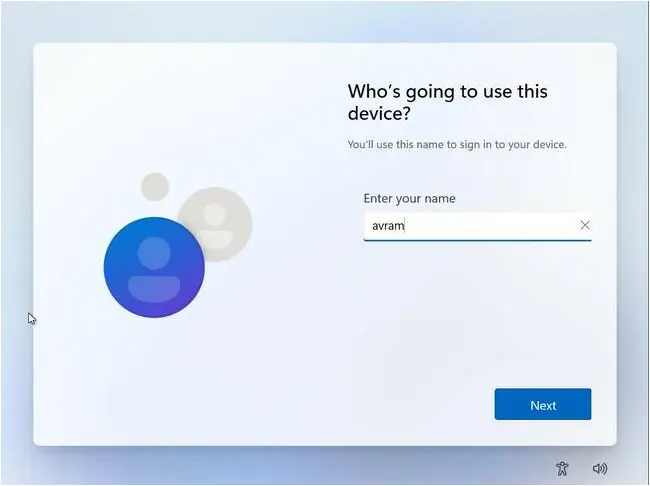
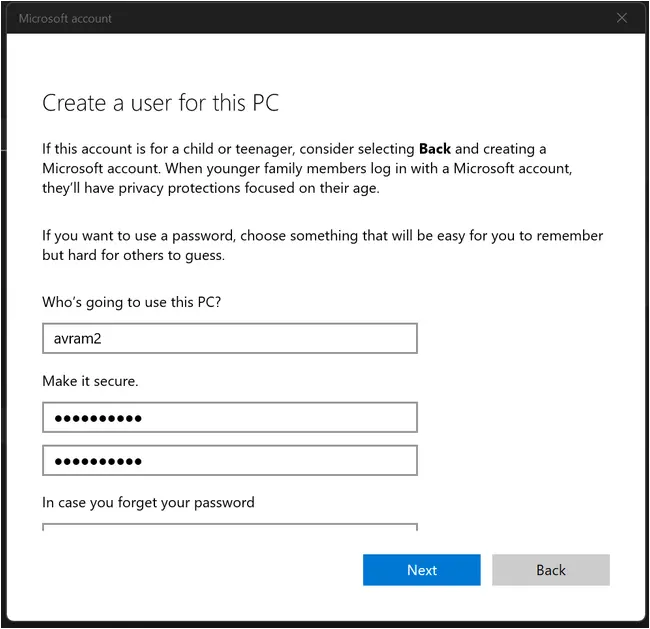
After you hit Sign in, you will be asked to enter a local username. You can pick anything you want.
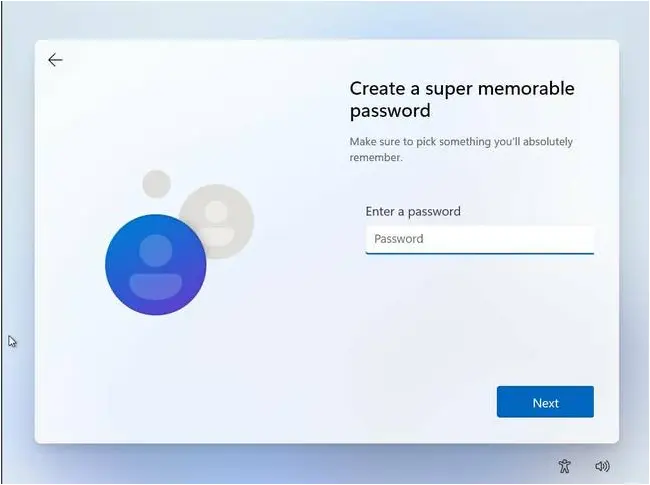
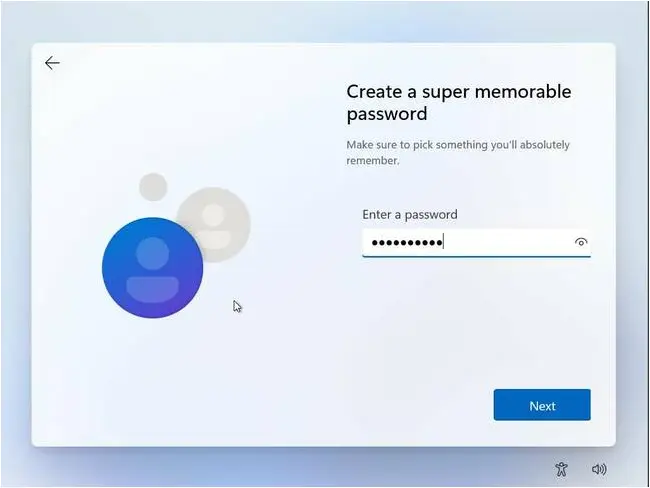
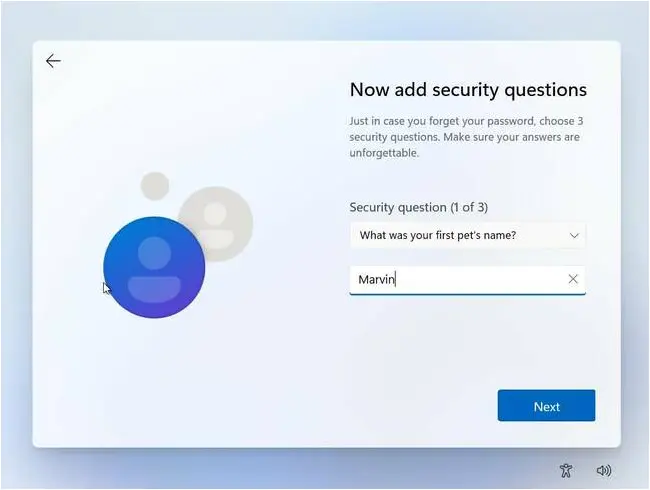
Then, after you hit Next, you will be asked to enter a password. If you don’t want to have a password, you can leave this field blank (but having no password is a bad practice). If you fill it in, you’ll be asked to confirm it and to enter answers for three security questions.
The software will then step you through the rest of the installation process. After that’s complete, you’ll have a working copy of Windows 11 with only a local account.
Method 2: Using Rufus to prepare a local account install disk
While the first method I showed you is more than adequate for installing Windows 11 with a local account, you can also prepare your USB Flash installation drive for this purpose in advance and do just a little less typing at the command prompt.
Start by inserting your USB flash drive or external SSD. Then download, install, and open Rufus, an installation disk burner created by developer Pete Batard. You can get it at rufus.ie/en/.
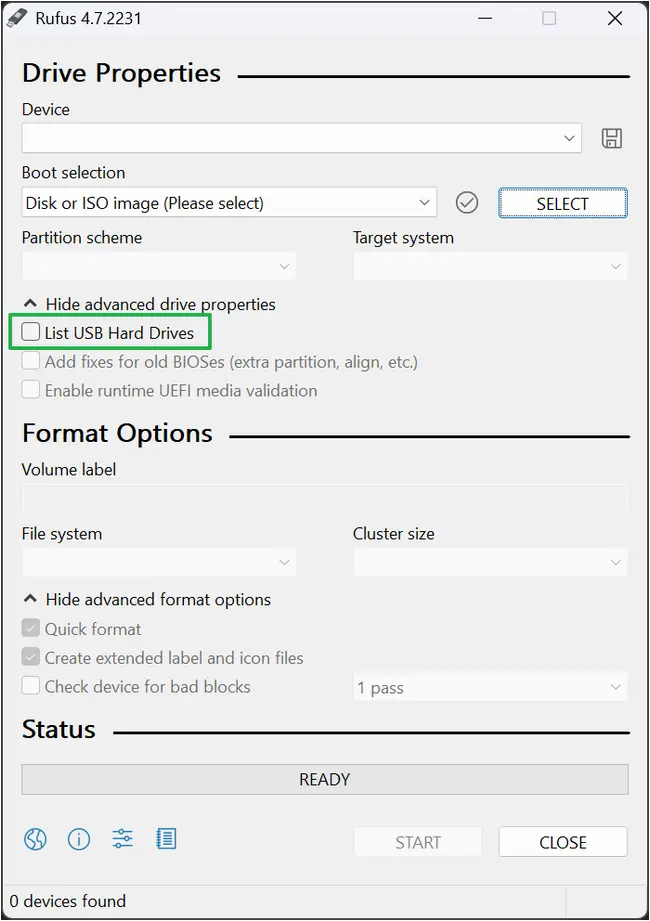
Select your drive. Check “List USB hard drives” if your drive does not appear in the drop down list.
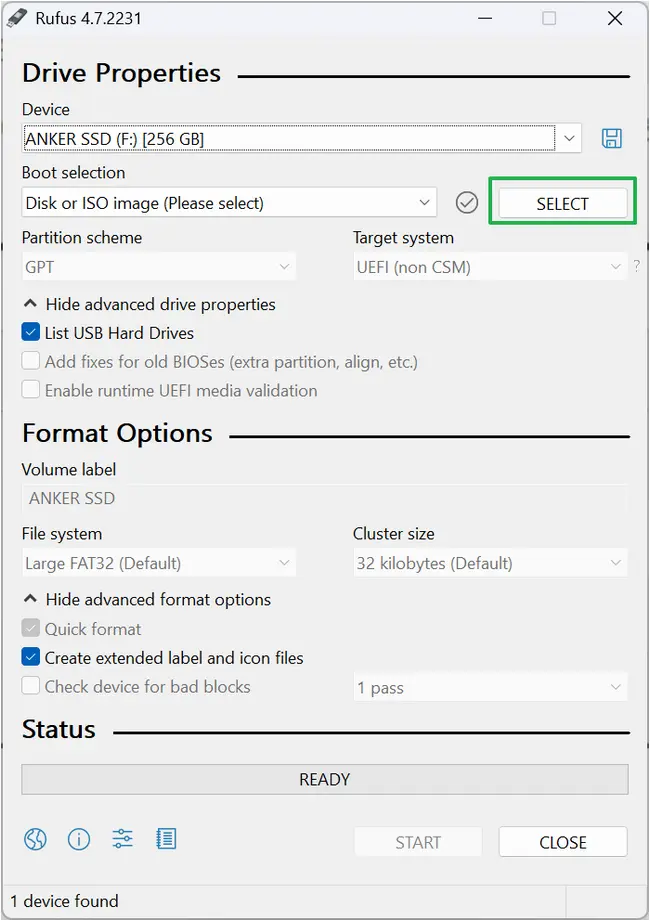
Then choose your ISO file by hitting the Select button.
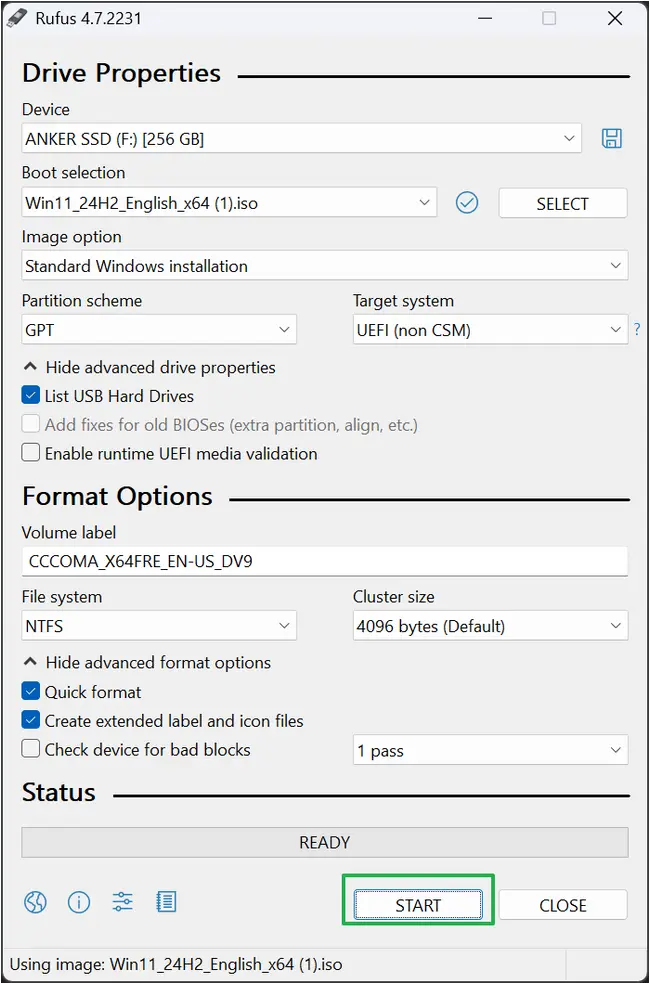
Then click the Start button.
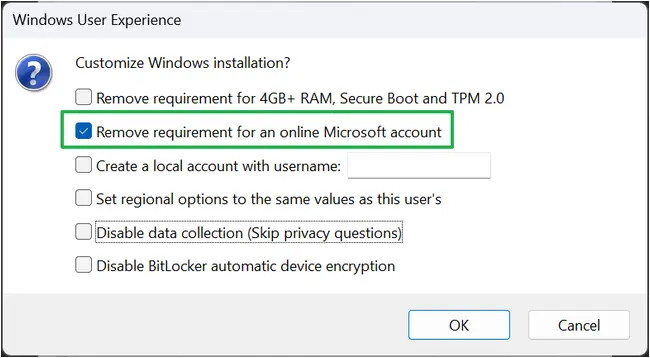
Check Remove requirement for an online Microsoft account and click Ok.
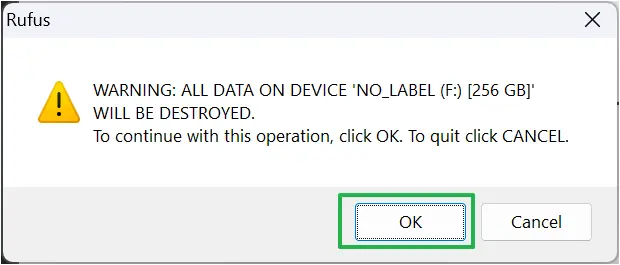
Click OK when you are warned that you will be destroying all data on your storage device. Don’t be alarmed.
Now Rufus will take a couple of minutes to write to your external drive.
Boot off of your USB flash drive and go through the installation process until you get to the Sign in screen.
Hit Shift + F10 here to open the command prompt. And, at the command prompt, enter ipconfig /release to kill your Internet connection.
Click Sign in, and you’ll be asked to enter a username for your local account.
Then enter a password. You can have a blank password but that’s not recommended.
If you created a password, you’ll be asked to enter the answers for some security questions.
Complete the install process and you’ll have Windows 11 with a local account ready to go.
How to install a local account on an existing PC
If you’ve already set up your computer with a Microsoft account, you can still add a local account and use that from now on. It won’t erase your Microsoft login, but as long as you use the local account, you won’t be syncing your preferences and data with Microsoft going forward.
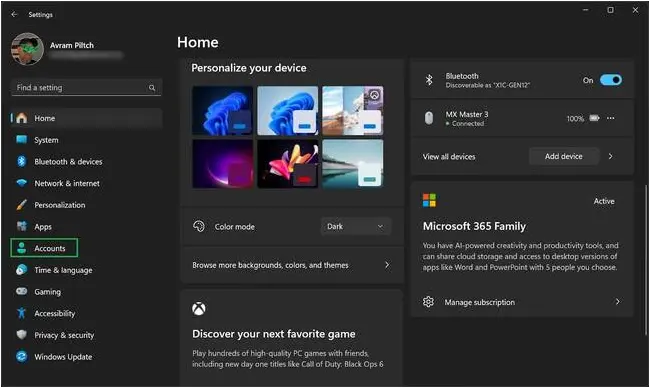
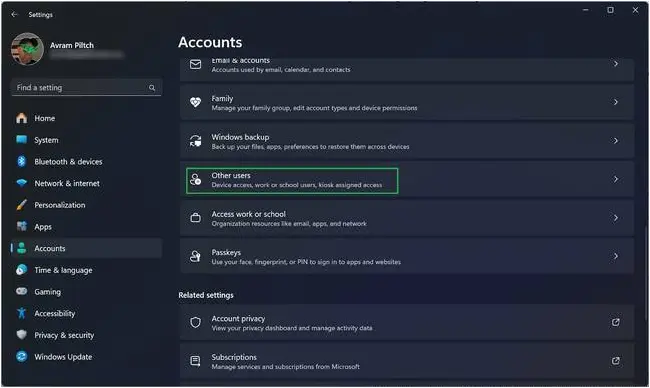
To add a local account to Windows 11, first navigate to Settings->Accounts.
Then scroll down and click “Other Users.”
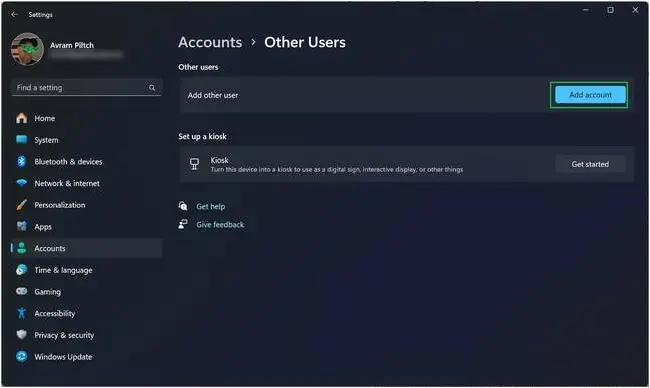
Click the Add account button.
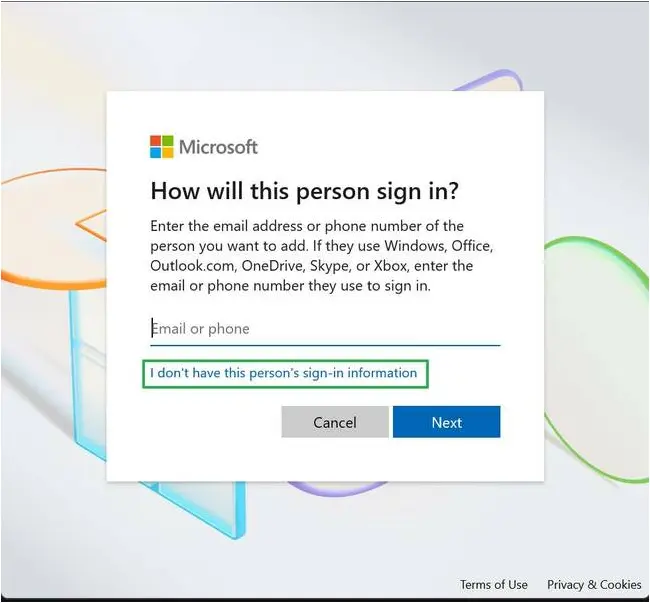
In the dialog box that pops up, click “I don’t have this person’s sign-in information.”
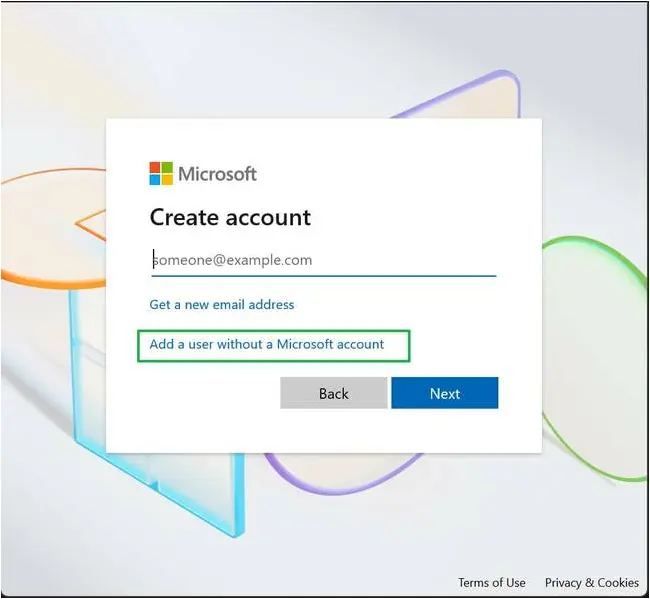
Then click “Add a user without a Microsoft account.”
Enter a username, password, and answers to three security questions. Then click Next.
You’ll now see your new username on the list of users in Settings.
You can then sign out of your account and sign in as the new, local user.®
A considerable amount of time and effort goes into maintaining this website, creating backend automation and creating new features and content for you to make actionable intelligence decisions. Everyone that supports the site helps enable new functionality.
If you like the site, please support us on “Patreon” or “Buy Me A Coffee” using the buttons below
To keep up to date follow us on the below channels.




![Cobalt Strike Beacon Detected - 8[.]218[.]112[.]112:8081 4 Cobalt-Strike](https://www.redpacketsecurity.com/wp-content/uploads/2021/11/Cobalt-Strike-300x201.jpg)
